## Nonmachinable Letter Meaning: What Mailers Should Know
If your mailpiece gets dinged as nonmachinable, it changes the game. You’ll pay more, and your item might be handled by hand instead of a machine. Knowing the nonmachinable letter meaning stops those surprise charges and prevents delays.
### Who Calls It Nonmachinable
The United States Postal Service decides whether a letter is machinable. The judgment comes from whether automated sorting machines can reliably process the piece. Machines look for consistent size, flexibility, smooth surfaces, and predictable thickness. If any of those are off, the piece is flagged nonmachinable and may incur a surcharge or be routed as a flat or package.
The classification matters for everyone who prepares mail: small businesses, nonprofits, designers who run invitation suites, and anyone who sends bulk mailings. If you use postage meters, presort services, or automation discounts, the machinability rules affect price and eligibility. For single-piece mail, the carrier at acceptance can also mark items nonmachinable if they don’t meet the criteria.
### What Makes A Letter Nonmachinable
Nonmachinable isn’t a single thing. It’s a list of traits that make automated processing unreliable.
– Rigidity: If the envelope or its contents are stiff and won’t flex, machines can’t bend them through rollers.
– Non-uniform thickness: Lumpy spots, staples, or bulky enclosures cause jams.
– Square envelopes: When length and height are equal, feeders and readers struggle.
– Clasps, buttons, strings, or metal: Any protrusion or metal closure is a problem.
– Too thick or too thin: If the thickness falls outside the letter-size limits, it’s nonmachinable.
– Odd sizes or aspect ratios: Pieces that are too narrow, too tall, or outside the accepted length-to-height ratio trip the rule.
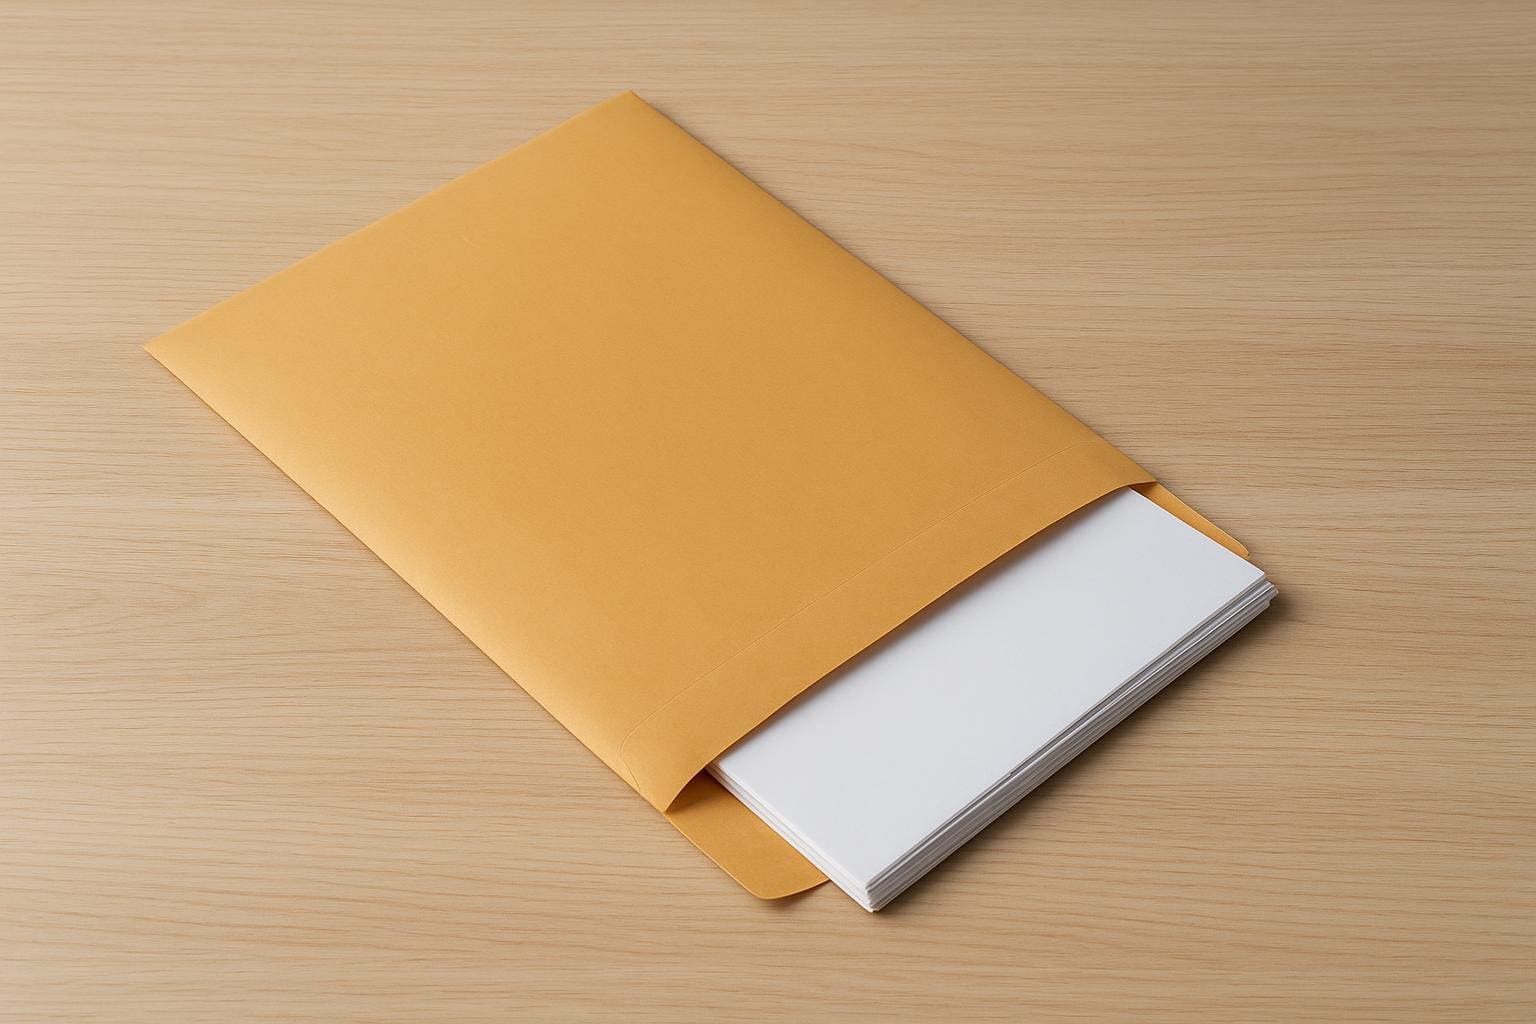
– Loose or uneven contents: Envelopes that bulge or have shifting items inside will be dinged.
Those conditions are the usual culprits. A plain one-ounce business letter is rarely nonmachinable. An invitation with multiple enclosures and a belly band often is.
### Dimensions, Thickness And Aspect Ratio
Measure carefully. Size and proportion are concrete things you can control.
– Minimum letter dimensions: 3.5 inches high by 5 inches long. Thickness must be at least 0.007 inch (roughly the thickness of a standard sheet of paper).
– Maximum letter dimensions: 6-1/8 inches high by 11-1/2 inches long, and 1/4 inch thick.
Aspect ratio matters for automation discounts. The ratio of length to height should fall between about 1.3 and 2.5. If the ratio is outside that range, machines won’t feed predictably and the piece risks being nonmachinable.
If your envelope is right on the limits, double-check with a ruler and a caliper if you have one. A fraction of an inch can change how the USPS treats the piece.
### Common Real-World Examples
Concrete examples make this easier to picture.
– Wedding Invitations: A square invitation suite with thick cardstock and envelopes that contain response cards and RSVP stamps is a classic nonmachinable letter. Multiple layers and square sizes make sorting machines choke.
– Window Envelopes: Most window envelopes are fine, but if the window obscures addressing or the plastic causes uneven thickness, the piece becomes nonmachinable.
– CD or DVD Enclosed: Even thin discs create rigidity and uneven thickness. That almost always moves the item out of letter category.
– Small Gifts: Keys, coins, or samples inside an envelope produce lumps and metal. Nonmachinable.
– Bubble Wrap or Corner Protectors: Protective inserts intended to prevent damage can turn a mailpiece into a nonmachinable item.
– Cloth or Fabrics: Textiles can have irregular thickness and edges that catch; they’re risky for machines.
In every case, think like a machine: will rollers and feeders be able to move this smoothly? If not, expect nonmachinable.
### How Nonmachinable Affects Postage And Handling
When a letter is nonmachinable, two things happen: it’s routed differently and postage goes up. Nonmachinable letters are often charged a surcharge on top of the regular postage. For presorted or automation-rate mailings, classification as nonmachinable can disqualify pieces from discounts.
Handling changes too. Instead of zipping along automated lines, the piece may be hand-sorted or routed as a flat or package. That can increase transit time and raises the chance of damage if the mailpiece wasn’t packed for manual handling.
If you run a business that relies on predictable postage and delivery times, losing machinability on a big batch can be expensive.
### Simple Tests You Can Do Before Mailing
You don’t need special equipment to spot common problems. Try these practical checks.
– Flex Test: Fold the mailpiece gently. If it doesn’t flex easily, it’s likely nonmachinable.
– Thickness Sweep: Run your thumb across the length of the piece. Any lumps or abrupt changes mean trouble.
– Square Check: Measure length and height. If they’re equal, that’s a red flag.
– Closure Inspection: Remove staples and metal fasteners. Replace with glue or tape if suitable.
– Try a Mock Feed: If you have access to a local mail shop, ask them to run a quick feed test. They often can spot issues that are easy to miss.
These checks catch most of the situations that trigger a nonmachinable label.
### How To Avoid Being Nonmachinable
You can often fix the problem without redesigning everything.
– Choose flexible envelopes and lighter papers when possible.
– Remove metal clips, staples, and any protruding closure hardware.
– Avoid square envelopes and keep aspect ratio within the recommended range.
– If you must include enclosures, stack them flat and use thin paper stock.
– For thick packages, consider First-Class Package Service or Priority Mail instead of trying to force letter rates.
– When sending invitations, consider mailing response cards separately to reduce bulk.
Small product changes—thinner inserts, different envelopes, or a single-fold design—can restore machinability and save money.
### When Nonmachinable Is Unavoidable Or Intentional
Sometimes you can’t or don’t want to change the piece. A thick, ornate invitation or an envelope with a glued embellishment might be a design choice worth paying for. In those cases:
– Expect the nonmachinable surcharge and build it into your cost planning.
– Use appropriate packaging and labeling so handlers know the piece is fragile.
– Consider hand-cancel or drop-off options at a post office window for better acceptance handling.
– If the item is time-sensitive, opt for a service designed for parcels to avoid unexpected delays.
There are also cases where being nonmachinable is preferable. A fragile item wrapped for protection might survive better with manual handling than with automated sorting pressure.
### Business Mailers, Automation Discounts, And Barcodes
If you manage bulk mailings, automation discounts and Intelligent Mail barcodes are valuable. But they come with strings attached about machinability.
Automation discounts require mail to meet strict size, weight, and readability standards. That includes correct placement of addresses, permitted type sizes, proper barcode placement, and adherence to the aspect ratio and thickness rules. If a piece is nonmachinable, you lose those discounts and may have to reclassify the entire batch.
Presort bureaus and in-house mailing systems often scan pieces. Make sure your artwork leaves a clear address area, use dark ink on light backgrounds, and avoid decorative elements that cover the delivery address. That reduces the chance your well-designed piece turns into a nonmachinable headache.
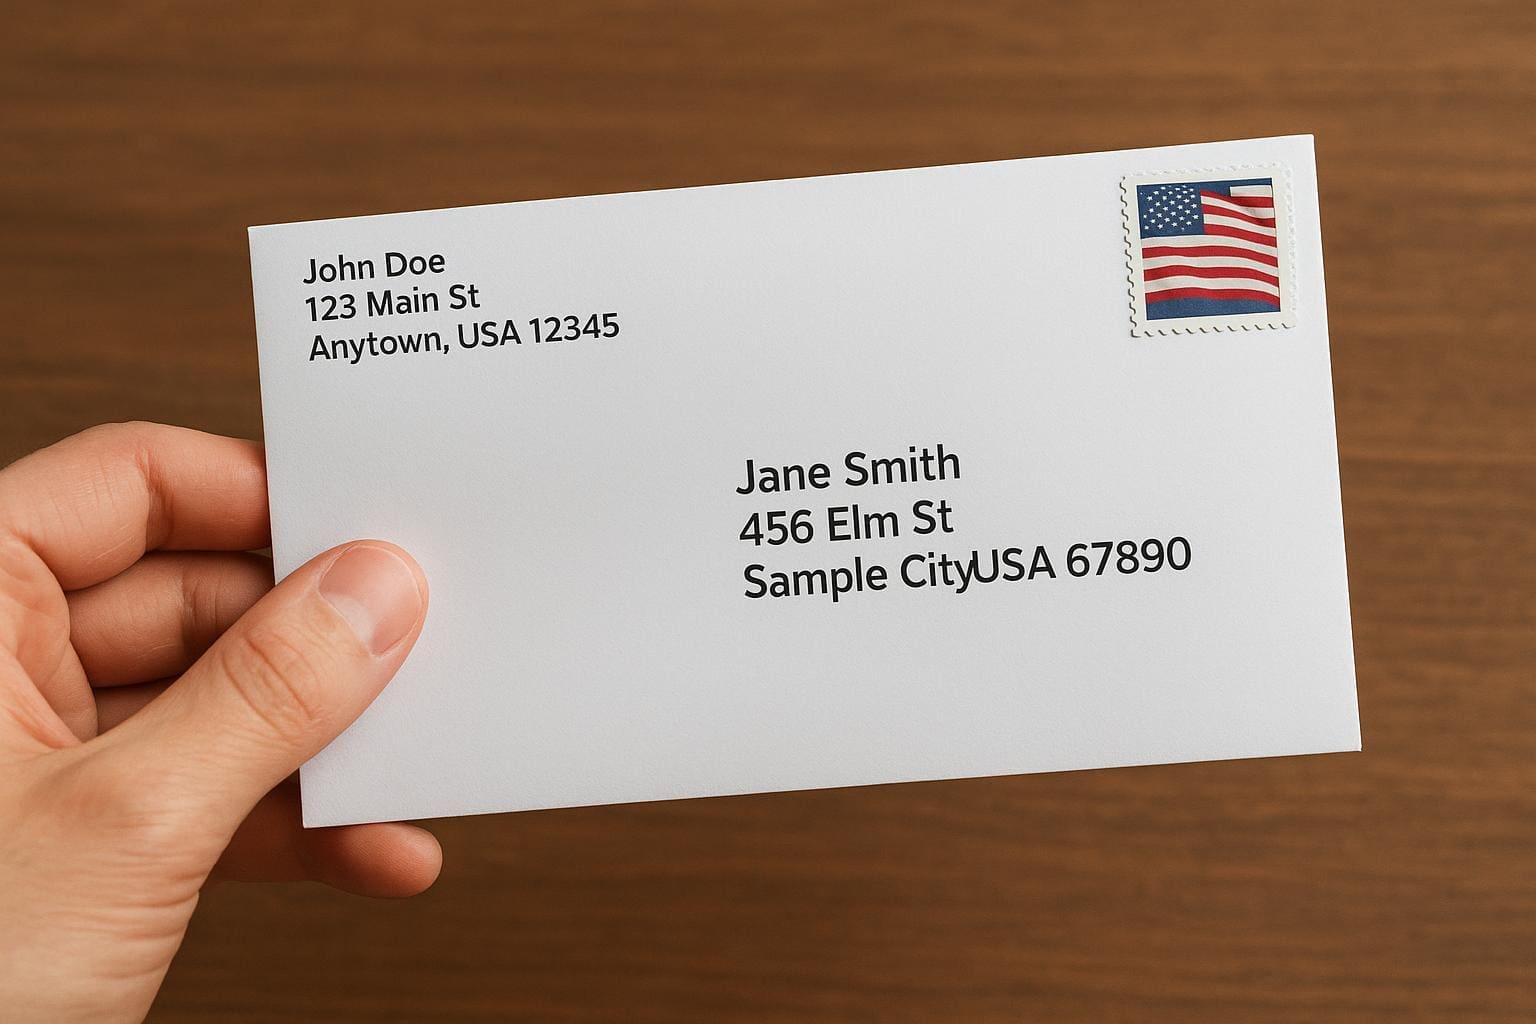
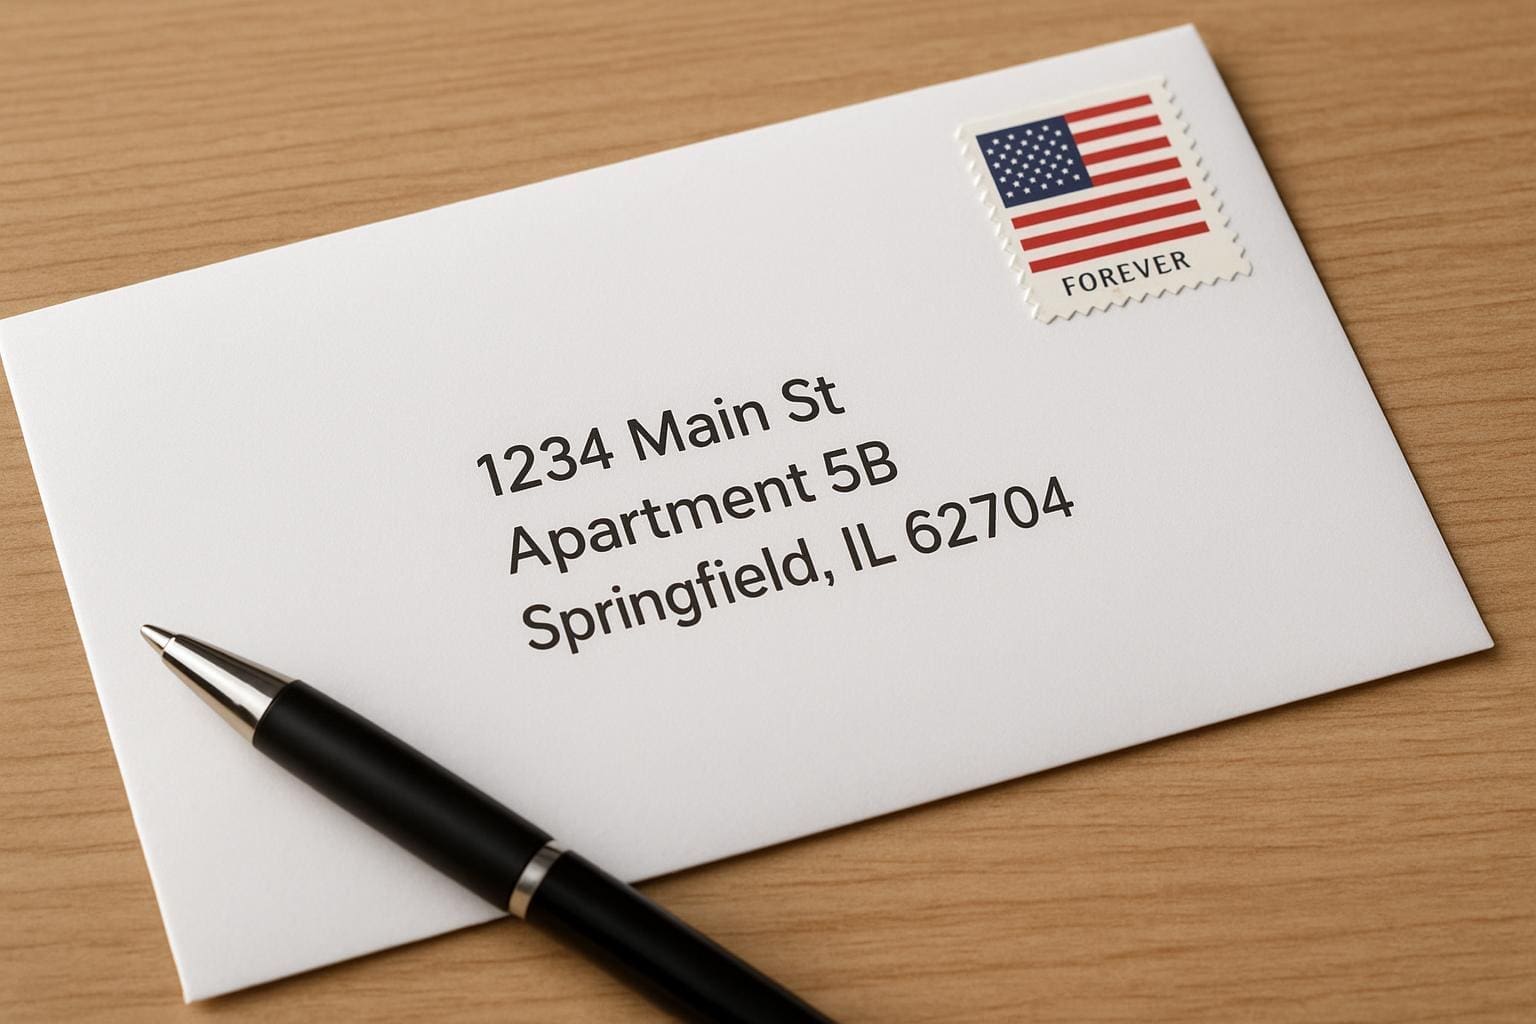
### Address Placement And Readability Rules
Address placement isn’t just etiquette. Machines need consistent location and contrast to read addresses automatically.
– Place recipient address parallel to the longest side of the piece.
– Leave a clear address block—avoid printing over seams, windows, or decorations.
– Use a simple, legible font in dark ink on a light background.
– Don’t use handwriting for large batches; it reduces readability and increases nonmachinable risk.
If the person who processes a piece can’t quickly find the address or if optical readers can’t decode it, expect manual intervention.
#### Measuring And Documentation Tips For Mail Departments
If you’re responsible for verification or for submitting mailings, keep a quick checklist:
– Record dimensions and weight for each mail type.
– Photograph a representative sample front and back.
– Keep documentation of envelope stock and paper weights.
– Keep examples of accepted and rejected pieces for reference with staff or vendors.
This reduces back-and-forth with the postal service and gives you evidence if a contested surcharge shows up.
### Alternatives To Reworking A Nonmachinable Piece
Sometimes reengineering the piece is impractical. Here are alternatives:
– Ship as a First-Class Package or Priority Mail to avoid letter rules.
– Use a poly-mailer or padded envelope that’s designed for parcels.
– If the piece is part of a marketing campaign, design an alternative mailer that retains brand feel without the nonmachinable triggers.
– For bulk runs, work with a mail house that offers presort and sorting services and can advise on rate trade-offs.
Changing services rather than the product is often faster than redesigning the stationery or packaging.
### Common Mistakes That Trip Mailers Up
People keep repeating the same expensive mistakes.
– Assuming window envelopes are always okay. They’re not if the window shifts the address or adds too much thickness.
– Ignoring the aspect ratio. Square invitations look great but cost more to mail.
– Stapling enclosures. Staples and metal fasteners are a near-certain nonmachinable cause.
– Trusting rough estimates. Small deviations in thickness or length add up across a mailing.
Avoid those pitfalls and you’ll save time and money.
### How To Handle A Nonmachinable Surcharge Dispute
If you receive a surcharge and think it’s in error, don’t panic. Gather measurements, photos, and any documentation about your envelope stock and mail preparation. Contact your local post office or the business mail entry unit. Often a clarifying conversation or posting your sample piece again with proper labeling can resolve disputes. Keep records—if you make the same mailing regularly, a documented standard helps prevent future surprises.
If you work with a mail vendor, ask them to certify machinability before they postage your run. They should be able to tell if a piece meets automation standards and show the tests they used.
### Small Tips That Add Up
These quick changes make a real difference.
– Swap thick card stock for lighter-weight paper when possible.
– Use single sheets instead of folded stacks inside the envelope.
– Replace metal clasps with printed bands or adhesive seals.
– Train staff who stuff mailings on what to look for.
Pay attention to these details and your nonmachinable incidents will drop.
### Where To Find Official Guidance
USPS publications and their website contain the full criteria and measurements for letter and flat machinability. For large campaigns, ask for a mailing guide or consult a postal inspector for ambiguous cases. If you run into a confusing rule, local postal business centers can provide practical advice and sometimes will test samples for you.
If you want to get picky about one detail, bring a sample to your post office. They’ll tell you if it’s likely to be processed by machine or flagged nonmachinable. That small step saves money over time, and it’s surprisng how often a friendly check avoids a surcharge later. Recieve feedback and adjust before the whole batch goes out.