You don’t need a postage scale the moment you list your first thing on Etsy. But you will feel the pain of guessing weights fast, and that pain can cost actual money.
## Is Postage Scale Necessity For Ecommerce Worth It?
When people talk about postage-scale-necessity-for-ecommerce they usually mean a simple tradeoff: time versus accuracy. A basic postage scale costs between $20 and $100. A digital bench scale for heavier boxes runs a bit higher. The question is whether that upfront cost and the few minutes you spend weighing each order will save you more than it costs.
### Postage-Scale-Necessity-For-Ecommerce: What To Expect
If you search for postage-scale-necessity-for-ecommerce you’ll find polar opinions. Some sellers swear they never weighed a thing and never had an issue. Others say the first time a carrier charges you a reweigh fee you learn fast. The reality sits in the middle. For low-volume sellers, a kitchen scale or even a postal clerk can work. For buyers who ship multiple packages a day, a dedicated shipping scale is one of the cheap efficiency wins.
### When A Scale Is A Cheap Insurance Policy
If your product mix includes light items with variable packaging — think cotton shirts, handmade candles, or postcards in different envelopes — a postage scale reduces guesswork. Shipping costs rise quickly when you cross weight thresholds. Underestimate by 4 ounces and you might push a package into the next price tier. That can turn a profitable sale into a break-even one.
Example: You ship a padded envlope that sometimes weighs 6.6 ounces and sometimes 7.3 ounces depending on filler. If the carrier’s next step costs an extra $1.25, those fluctuations add up. Weighing every order eliminates surprise charges, and that makes pricing more predictable.
A scale also helps when you print labels at home. If your postage software pulls the wrong weight because you guessed, you could be on the hook for postage due. Most platforms allow refunds for honest mistakes, but larger sellers don’t want to juggle that admin. Investing in a shipping scale saves hours of cleanup work.
### When You Can Skip Buying Right Now
If you ship a single SKU, and its weight is fixed and well-tested, you can delay buying a scale. Say you sell a single type of metal bar that always goes in the same box with the same packing material. After 50 shipments you’ll know the box weight to the ounce. For small sellers who sell sporadically, the post office’s public scale or drop-off services work fine.
Also, if you can build the cost into your pricing and absorb occasional overcharges, skipping a scale is an option. This is common for sellers who prioritize simplicity over tight margins.
### Practical Thresholds To Consider
Think in terms of daily or weekly volume rather than how many listings you have.
– Less than 5 shipments a week: You can probably get by without a dedicated postage scale if your product weights are stable. Use a kitchen scale or weigh at the post office.
– 5–20 shipments a week: A basic digital postage scale starts to pay for itself. It saves time and prevents tracking down missing postage costs.
– More than 20 shipments a week: A mid-range shipping scale with a wide platform and platform tare features is a clear productivity booster.
These aren’t universal cutoffs, but they help you decide based on real time investment.
### How To Choose A Shipping Scale Without Wasting Money
A cheap postage scale that maxes at 11 lb is enough for most small sellers. Look for a scale with these features: repeatable accuracy to an ounce, compatibility with your label software, and a tare button so you can zero out boxes or trays.
If you ship heavier items regularly, consider a larger shipping scale with a 66 lb or 110 lb capacity. Accuracy becomes more important as weight increases, because a 1% error on a 50 lb box is more money than a 1% error on a 3 oz postcard.
If you use shipping carriers that charge by dimensional weight, remember that a scale won’t solve wrong box size problems. You’ll still need to pick the right box. But a shipping scale plus a cheap measuring tape eliminates most surprises.
### Integration And Workflow Wins
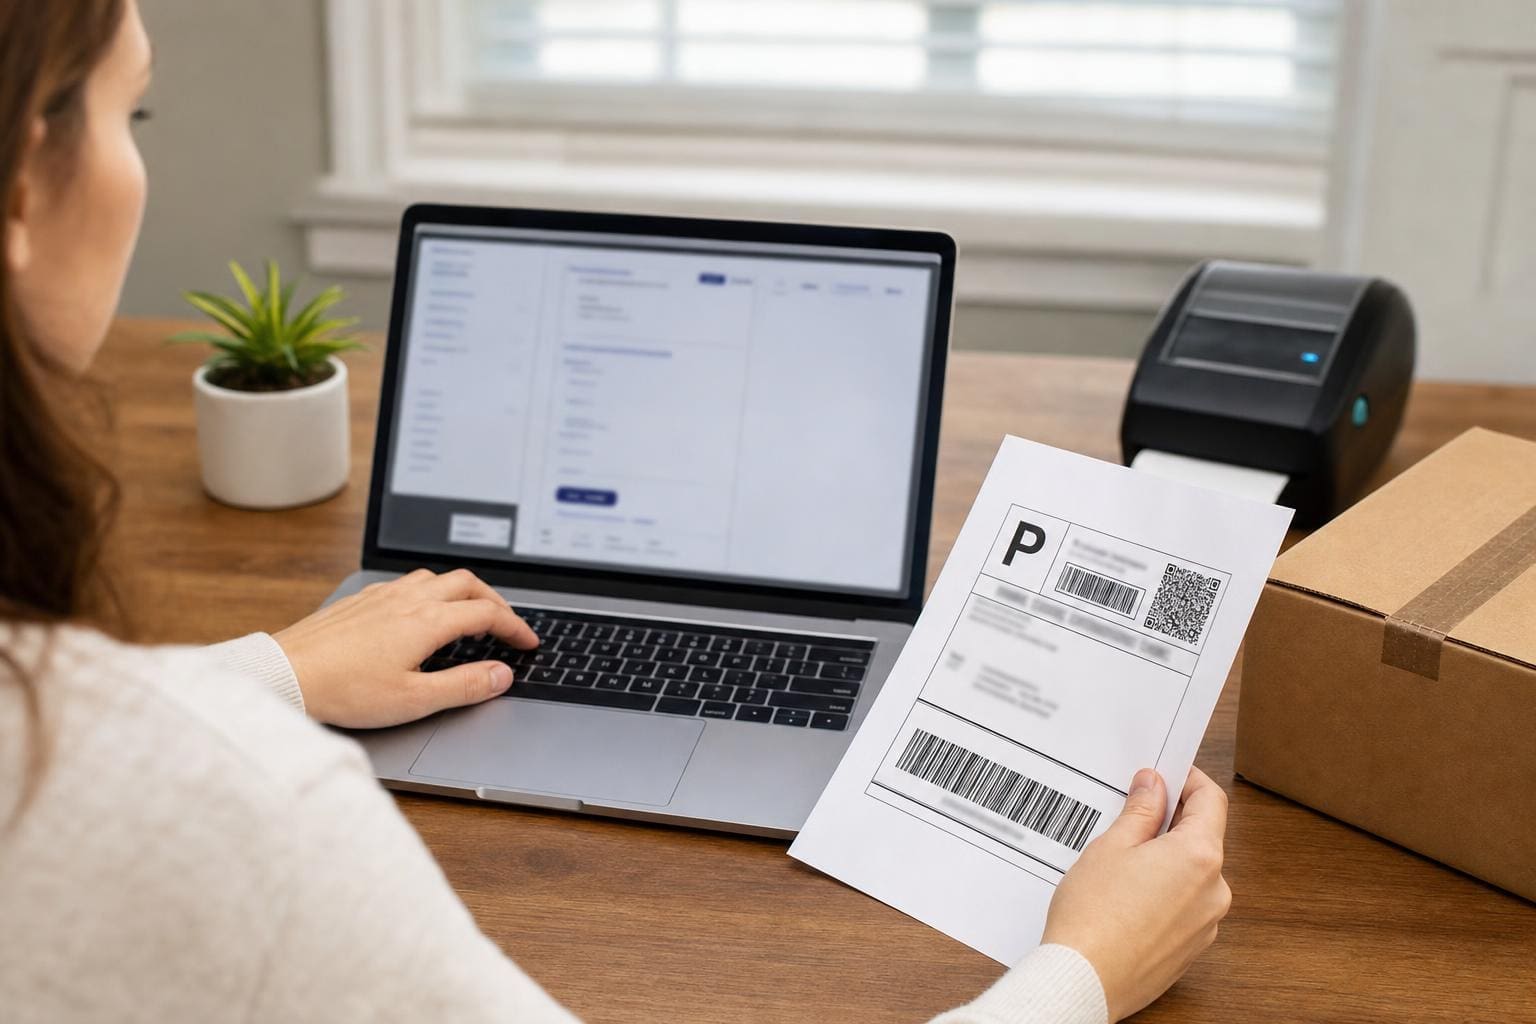
One underrated advantage of a postage scale is the workflow improvement. When your scale integrates with postage software, printing labels and batching shipments becomes seamless. You weigh, the software records the weight, and the right label prints. That cuts human error.
Author tip: set aside a flat tray or slab for weighing. It’s faster than balancing boxes on an uneven table. Also keep a permanent marker and tape nearby so you can mark when an item was weighed. Little habits like this cut down on reweighs and mistakes.
### Real Costs Of Guessing Weights
Guessing the weight can cost you in several ways. First, you may pay extra postage out of pocket. Second, time spent fixing label disputes eats into the time you could use acquiring customers. Third, unhappy buyers get upset when delivery estimates shift because the label class had to be changed.
I once watched a seller of packed gift boxes lose 2% margin simply because a seasonal filler added weight and the company didn’t update their weights. They were also processing returns where buyers claimed the package paid insufficient postage. None of these are fatal, but they are avoidable.
### Alternatives To Buying Right Away
If you’re not ready to buy a postage scale, there are reasonable alternatives. Use the post office’s public scale when you drop boxes. Many courier pickup drivers will reweigh and notify you of discrepancies. Some marketplaces offer discounted USPS Click-N-Ship rates for pre-paid labels, though you still need accurate weights to avoid charges.
Another option is to standardize packaging. If every item fits into one of three box sizes with known weights, your weight estimates become simpler. It’s not perfect, but it reduces variance.
### Mistakes New Sellers Make
Don’t assume volume discounts on postage automatically make up for postage mishaps. Sellers often stack boxes in the back of their car and forget to subtract the box weight. They also fail to account for void fill like bubble wrap. One shop started using bubble bags to protect glassware and suddenly their shipping costs spiked. Recieve the reality that packing materials matter.
Also, don’t buy an industrial scale because it looks pro. Pick the right tool for the job. Tiny scales with raw displays can be frustrating if you need to tare repeatedly. A user-friendly postage scale keeps the process moving.
### Quick Setup Tips For Your First Scale
Place the scale on a flat surface away from drafts and direct sunlight. Calibrate it according to the manual. Keep a log for a week to confirm the scale’s readouts match what the carrier reports if a reweigh happens. If you see consistent variance, test another scale; cheap units can drift.
If you’re testing postage-scale-necessity-for-ecommerce, run a one-month trial. Track the cost of postage overestimates versus underestimates and the time spent fixing issues. That data gives you a factual base to decide whether to upgrade to a heavier-duty shipping scale.
### When To Upgrade
You know it’s time to upgrade when weighing becomes the bottleneck. If your packing table is crowded, labels are printed incorrectly, or returns spike because of postage issues, move up from a small postage scale to a platform model. The faster you can weigh and label, the faster you can ship and take on more orders.
Postage-scale-necessity-for-ecommerce shifts as you grow. The scale that was optional at month six will feel essential at month thirty. Keep an eye on margins and time costs and you’ll see the line where a shipping scale becomes a must-have.
### Cost Vs Benefit In Real Numbers
A $40 scale that stops you from paying an average of $0.75 in surprise postage on 100 orders a month pays for itself in a single month. Add the hours you save by not fixing label issues and the ROI is obvious. The math is simple; track your numbers. If you can’t quantify the savings, then you don’t yet have the problem the scale solves.
Postage-scale-necessity-for-ecommerce isn’t a universal truth. It’s a decision based on product mix, volume, and how much administrative cleanup you want to avoid. If you ship regularly and want predictability, buy a scale and stop guessing. If you ship rarely and your products are stable, wait and use public scales until the volume justifies an upgrade.