Customs paperwork is the truth nobody wants to argue about until a parcel goes missing or a shipment stalls at the border. That’s where the cn22 vs cn23 customs forms fight gets real: small sellers learn fast that the wrong label or an incomplete description can cost days, fines, or worse, a lost customer.
## CN22 Vs CN23 Customs Forms: What’s Different?
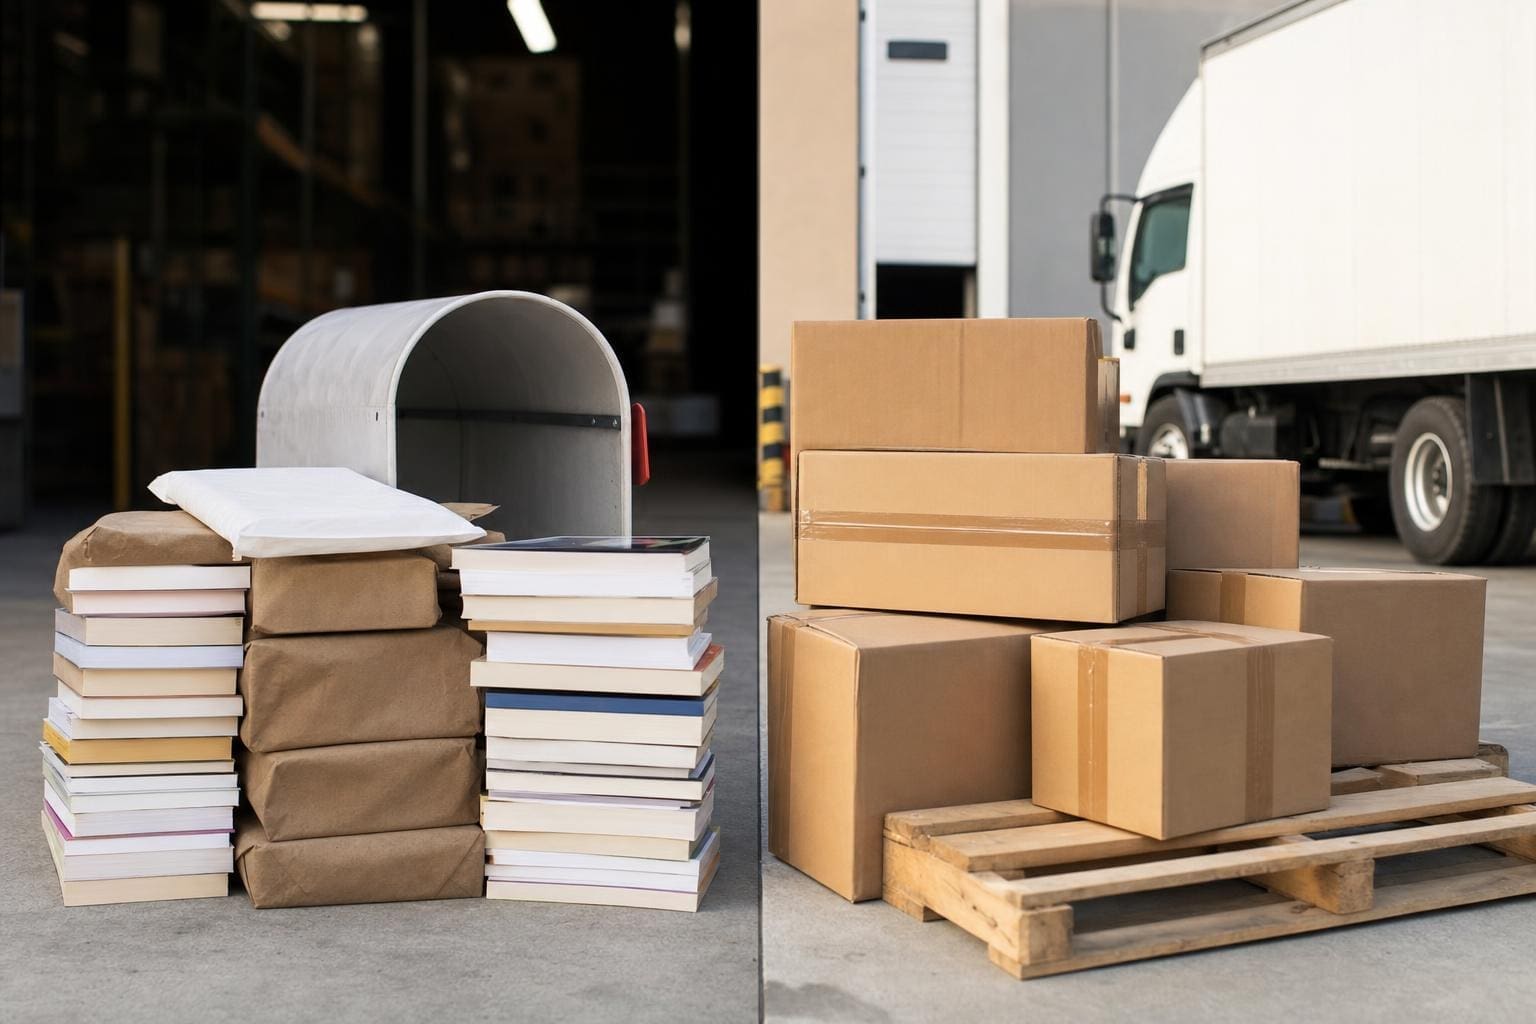
People toss the names around like they mean the same thing, but they don’t. The CN22 is the sticker you stick on small, low-value parcels — think samples, gifts, or small retail items under a certain value. The CN23 is the heavier hitter: used for more valuable or commercial shipments, and it needs a fuller set of declarations. The choice between them matters because customs officers use the form to decide duties, inspections, and whether the parcel needs extra paperwork.
When someone starts googling cn22 vs cn23 customs forms, they’re usually reacting to a problem: a returned parcel, a hold notice, or an unexpected VAT bill. The forms aren’t just administrative tedium; they’re the map customs uses to understand what’s in a box and why it’s crossing a border.
### Why The Forms Look Similar But Act Differently
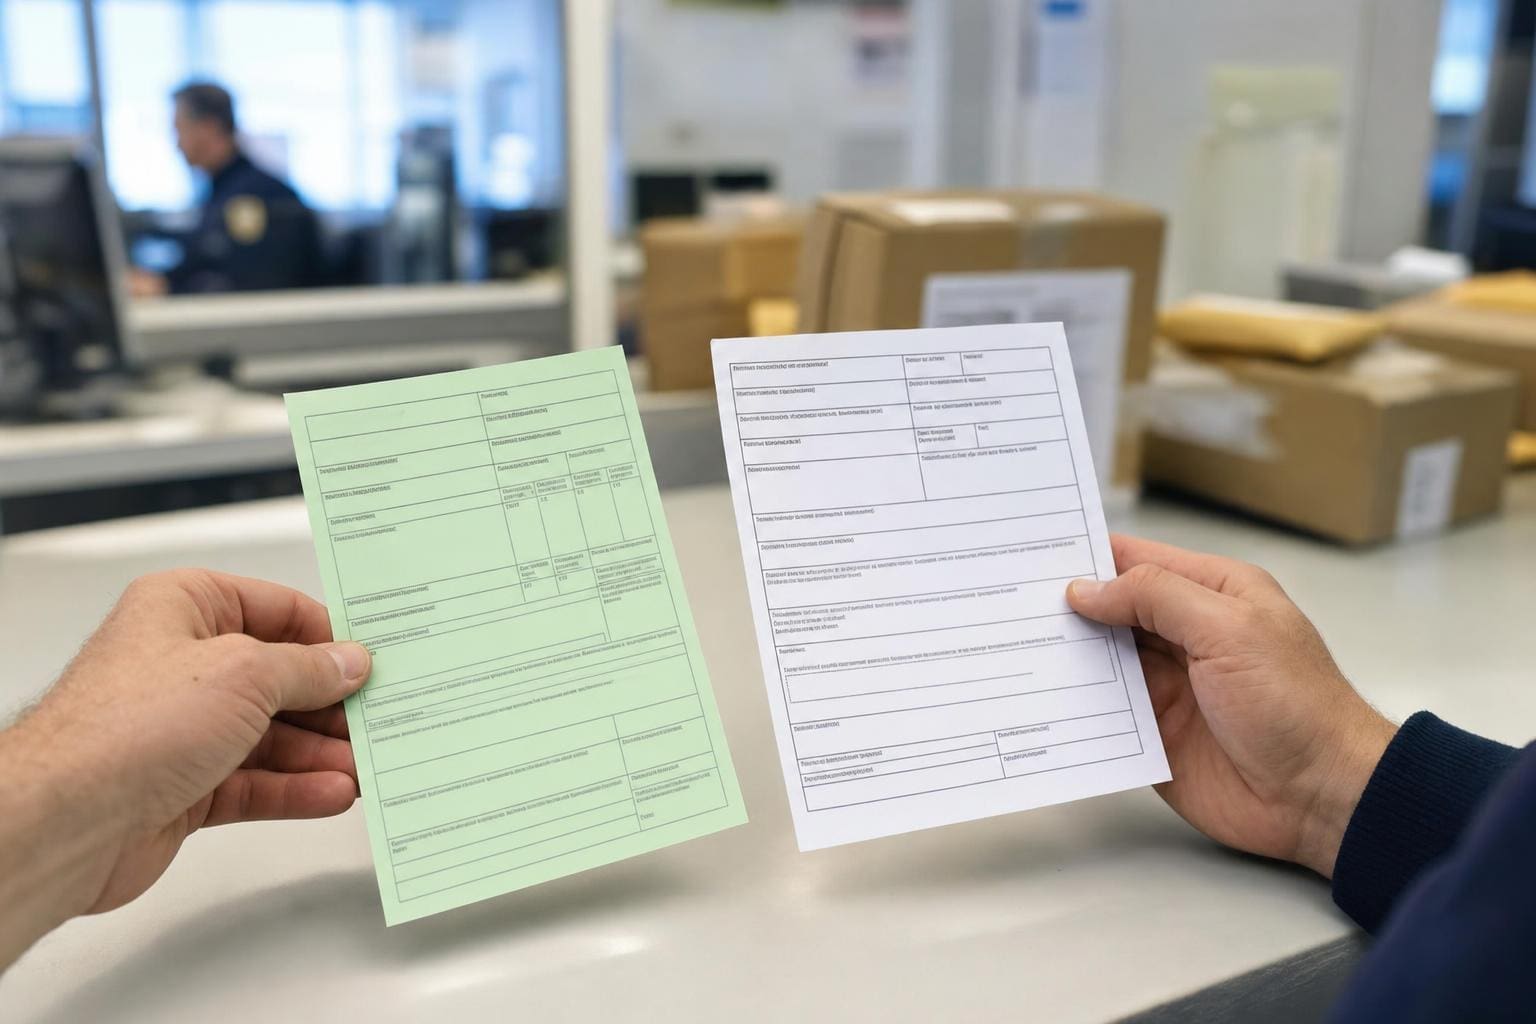
Both forms ask for a description of contents, value, and sender details. But the CN23 demands more precision: harmonized system (HS) codes, the reason for export (sale, return, gift), and often an invoice or commercial declaration attached. CN22 can be hand-written on many postal labels and is meant for low-risk, low-value shipments. CN23 usually travels with a customs declaration form or a pro forma invoice. That extra paperwork changes how customs treats the parcel.
Because of that, small differences in how someone fills either form can change the whole outcome. A vague description like “clothes” on a CN23 can trigger an inspection; “t-shirt” with the right HS code may sail through. The devil is in the detail.
## Who Should Use Which Form
Businesses that ship regularly need rules rather than hunches. Use the CN22 when the package is within the postal service’s value threshold for small parcels and you’re not exporting goods commercially. Examples: a $10 sample sent to a buyer, a birthday gift under the value limit, or a low-cost accessory mailed to a friend. For larger transactions or whenever the carrier’s system flags the shipment as commercial, the CN23 is the correct choice.
If you’re a small e-commerce seller selling overseas, you’ll quickly learn to ask: Is this a commercial sale? Does the value exceed the small-parcel threshold? If yes to either, use CN23. If no, CN22 is usually fine. Practical rule: when in doubt, err on CN23 if you can attach more documentation; it reduces the chance customs will reclassify the shipment and hold it.
### Common Missteps Sellers Make
A lot of problems come from treating the forms as an afterthought. A seller writes “accessories” and the border agent sees “electronics” or “components” and seizes the package for inspection. Another common error is misdeclaring value to avoid duties; that’s rarely worth the risk. Customs databases talk to each other now; undervaluing a shipment invites penalties. Also, sellers who don’t include an invoice with a CN23 are asking for trouble. Customs wants to know the chain of transaction.
You’ll also see repeated mistakes with addresses. A slightly wrong postcode or incomplete customs details can send a parcel back across borders. I’ve seen dozens of parcels delayed because the sender forgot to write the recipient’s phone number — some countries require it for delivery. Small, avoidable things create large delays.
## How Carriers Influence The Choice
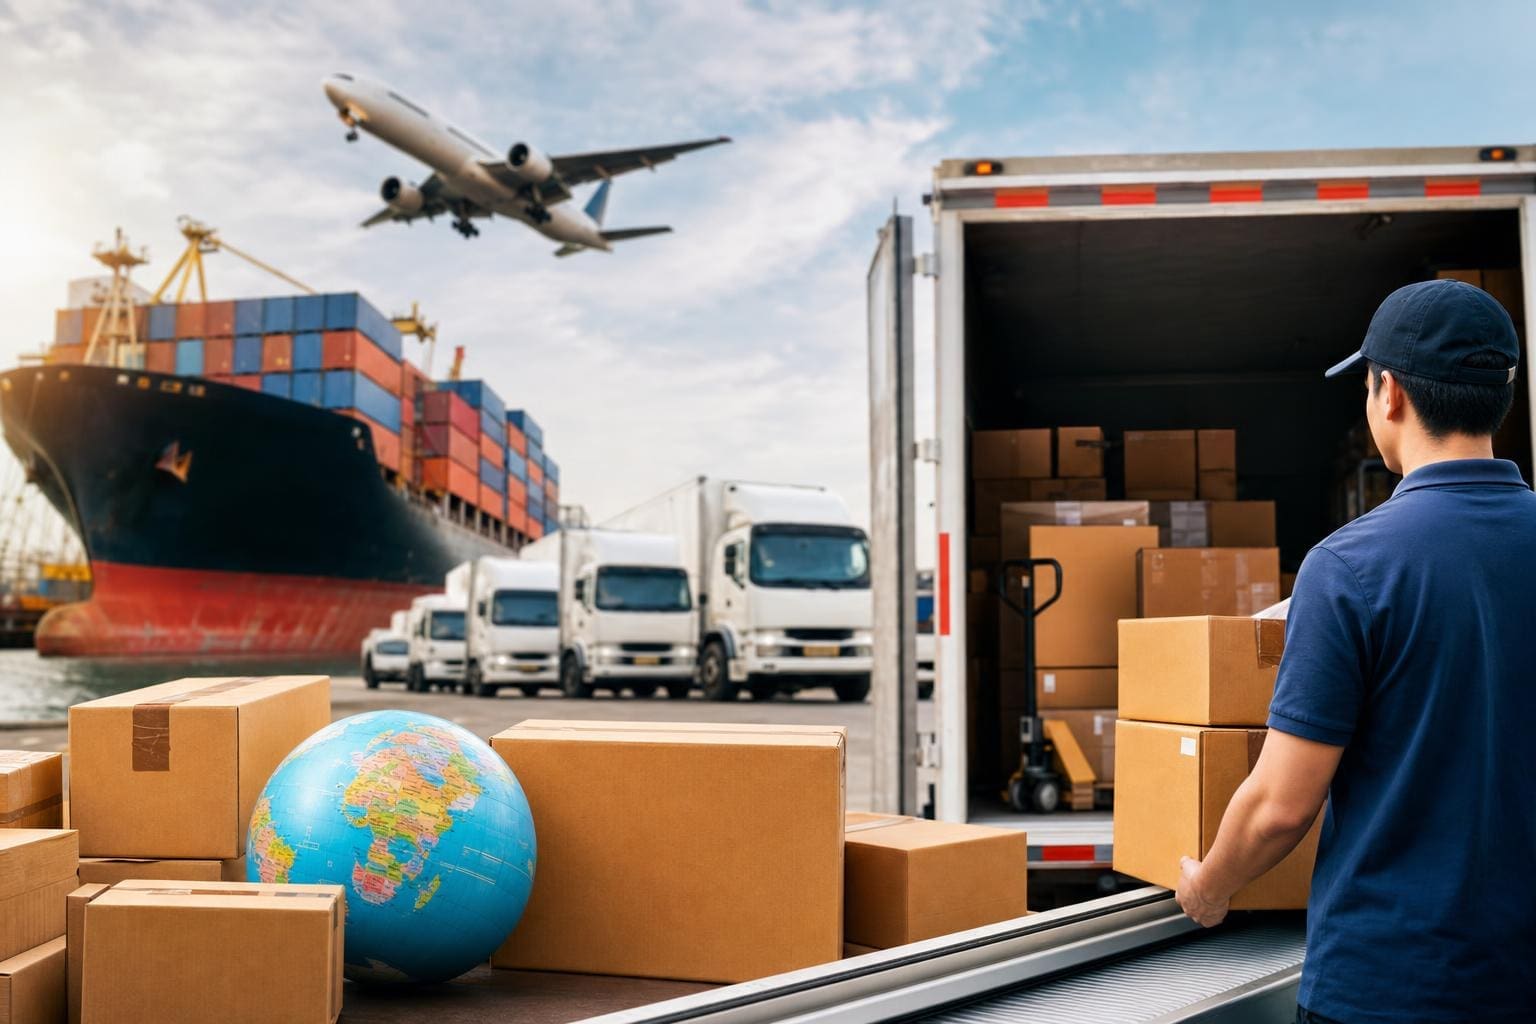
Different carriers treat the forms differently. National postal services often have one set of thresholds and will accept a CN22 for a wide range of small parcels. Express couriers like DHL, FedEx, and UPS often require a commercial invoice for commercial shipments and will push shippers toward CN23-equivalent documents. The carrier’s online export system may generate a CN23-like declaration automatically when you buy postage through them.
Here’s the practical takeaway: learn your carrier’s workflow. If your carrier auto-generates a CN23 for regular e-commerce shipments, follow that. If you use the post office for occasional gifts and samples, CN22 is often fine — just make sure the description and value are accurate. Don’t assume the label fell into a black box; carriers forward customs forms to the destination country’s customs authority.
### Cross-Border Marketplaces And Platform Requirements
Platforms like Etsy, eBay, and Amazon have built-in export workflows that will prompt for the right customs info. Still, sellers who bypass the platform and print their own labels can mess things up. Marketplaces typically prefer CN23-equivalent documentation for commercial sales; they may require HS codes. If you list an item as a gift but it’s sold through the marketplace, customs will not be fooled. That mismatch causes packages to be held while authorities verify the transaction.
If you sell through multiple channels, keep a cheat-sheet for each platform and carrier. Note the required form, the documentation, and how they expect HS codes to be entered. Over time, this saves you hours of follow-up and keeps customers happier.
## Real Costs Of Getting It Wrong
A delayed parcel is one thing. A returned parcel or a fine is another. But there are less obvious costs: a customer who loses trust, time spent answering inquiries, and the administrative headache of filing claims. For businesses operating on thin margins, a handful of misdeclared parcels can wipe out profit from a week’s sales.
Worse: if customs suspects fraud — undervaluing, false descriptions, or undeclared commercial intent — they can seize goods and penalize the shipper. For some items, like regulated tech or certain chemicals, the wrong form can mean a seizure and an investigation. That’s why the cn22 vs cn23 customs forms matter beyond paperwork.
### VAT, Duties, And The Growing Administrative Burden
Many countries have lowered or eliminated thresholds for VAT collection; that increases scrutiny on parcels. The CN23 is designed to feed customs systems with details they need to calculate duties and VAT. Shippers who use CN22 long past its intended scope end up in customs backlogs. The end result is higher compliance costs for everyone.
Cross-border VAT regimes are shifting fast. If you ship into the EU, the UK, or large emerging markets, expect new rules or stricter enforcement. That means more shipments will require the CN23 or equivalent declaration — and more sellers will need to learn to produce accurate invoices and HS codes.
## Filling The Forms: Practical Tips
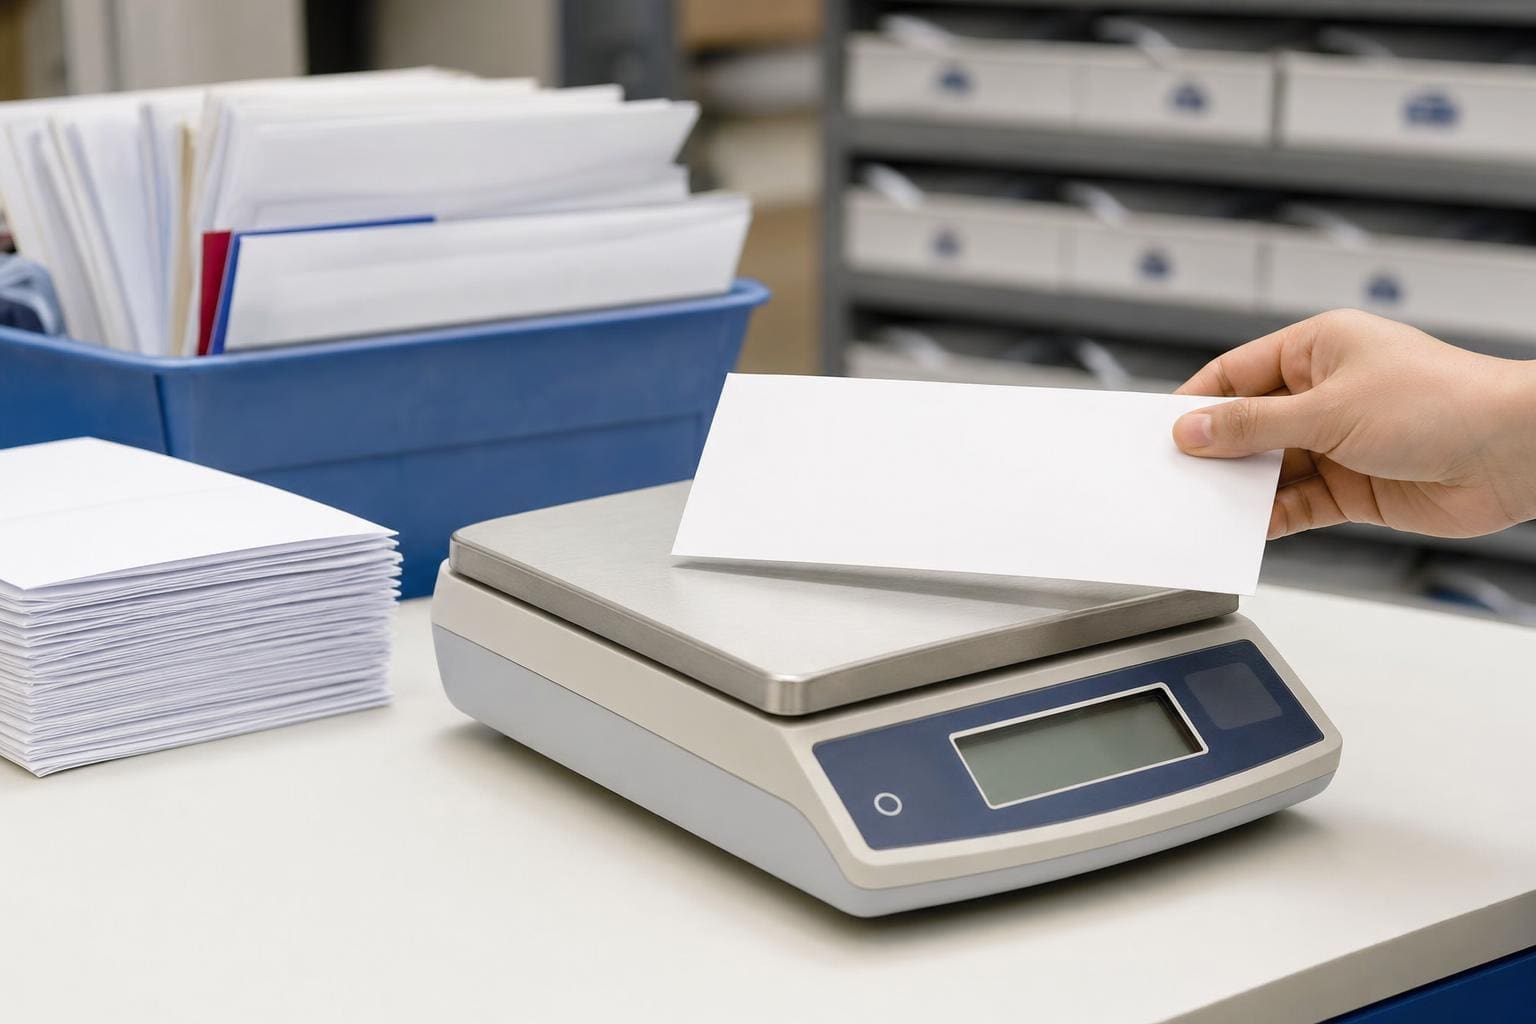
Start with plain, specific descriptions. Instead of “merchandise,” write “cotton t-shirt, men’s size L.” Add quantity, weight, and unit value. If the item is handmade, say so. If it’s a sample, mark it clearly and attach any required pro forma invoice.
Learn basic HS codes for your most-shipped items. You don’t need perfect mastery, but being within the right chapter saves inspections. Many national postal services and trade associations publish lookup tools. Don’t rely solely on automated suggestions from marketplaces; double-check.
Keep copies of invoices and proof of export. If customs asks, you want documentation to hand over. For shipped returns, use return paperwork to show the item’s origin and value. Also, be realistic about packaging weights: an empty box with heavy padding can change carrier thresholds.
### When To Hire A Customs Broker
If you’re shipping regulated goods, high-value items, or large volumes, a broker pays for themselves. Brokers understand the nuances between CN22 and CN23 usage and can manage classification, duties, and special permits. For one-off sellers, a broker may not make sense. For any company with repeated issues or frequent international shipments, a broker reduces risk and often saves money in the long run.
Brokers also help for shipments that cross multiple jurisdictions or need special licenses. They deal with the paperwork customs officers ask for, and they keep up with rule changes you don’t have time to track.
## Cases Where CN22 Led To A Mess
I once worked with a designer who shipped 30 scarves to a buyer in another country. She used CN22 because each scarf was low cost. Customs flagged the whole lot as a commercial shipment. The carrier returned them because the paperwork didn’t match the shipment’s scale. The result: extra fees, returned goods, and a lost buyer. A single correct CN23 and invoice would have avoided all of that.
Another example: a seller marked earbuds as “accessories” on a CN22 to save time. The parcel was held because the target country required electrical goods to have safety compliance documents. The seller had to track down certificates and pay a review fee. Simple specificity in the description could have prevented it.
## Digital Tools And Automation
Shipping platforms are getting better at generating proper customs paperwork. Some will auto-fill HS codes, attach invoices, and choose the right form based on declared values. But automation is only as good as the input. If product listings are sloppy, the generated CN23 will also be sloppy.
Invest in clean product data: consistent titles, SKU-based descriptions, and accurate values. That makes any automated CN23 more reliable. Integrate your e-commerce platform with a shipping tool that supports customs documents. It reduces errors and keeps records organized.
### Data Hygiene: A Small Investment, Big Returns
Data hygiene is the dull part that pays. Use consistent naming (no odd symbols), keep dimensions and weights updated, and verify values regularly. When an item’s weight changes because of new packaging, update the record. Small mismatches between what your system says and what customs sees invite scrutiny.
Also, keep a library of common HS codes and descriptions for your team. Make one person responsible for customs training. That avoids the “someone said it was fine” problem that pops up when teams scale.
## Policy Shifts To Watch
Customs policy evolves. More countries are tightening inspection thresholds and demanding digital records. Watch for two trends: lowered de minimis thresholds and increased data-sharing between carriers and customs. Both trends push more shipments into the CN23 territory.
If your business relies on low-value shipments to multiple countries, track regulatory updates for your top markets. Trade associations and carrier alerts are useful here. Governments publish changes, too, but the notices are not always easy to parse unless you’re looking for them.
### Preparing For Rapid Change
Build flexibility into your shipping operations. Make your fulfillment team comfortable with both CN22 and CN23 workflows. Test changes in a controlled way: send sample shipments, monitor what customs requests, and refine your documentation. That small, iterative approach beats frantic fixes after a shipment has already been held.
## The Human Factor: Training And Accountability
Forms don’t fill themselves. Most mistakes come from rushed workers or unclear processes. Train staff to treat customs details as a front-line responsibility. Make a checklist for outbound shipments that includes verifying the form type, checking HS codes, and attaching invoices when needed.
Assign accountability. When something goes wrong, trace it back to the process failure. Fix the process. Don’t just re-issue the form and hope.
### Practical Training Exercises
Run simple drills: give a handler five sample orders and ask them to pick CN22 or CN23 and fill the fields. Compare answers and discuss discrepancies. Use real-life problem cases to teach nuance: returns, gifts, samples, and bulk sales all need different handling. Real examples stick better than abstract rules.
## When Customs Asks For More
If customs contacts you, respond fast and clearly. Provide invoices, proof of export, or regulatory permits as requested. Slow responses increase storage fees and can escalate penalties. Keep a template response ready with common attachments to speed things up.
Also, get your customer involved if their import rules require it. Sometimes the recipient needs to provide import permits or pay VAT. That’s part of the cost-of-sale conversation for cross-border transactions.
## International Nuances That Matter
Each country treats forms and thresholds differently. Some are lenient; others are strict. For instance, one destination may accept a CN22 for low-value cosmetics, while another demands the CN23 plus safety paperwork. Know your destination. Learn the specific requirements for high-volume markets because a one-size-fits-all approach will fail.
If you ship into several countries, compile a short country-guide: thresholds, required contact info, and any banned items. Keep it simple: bullet points for the team to follow when packing and labelling.
## How Tech Platforms Decide The Form
Many shipping platforms use value thresholds and product categories to decide whether to create a CN22 or a CN23. But they rely on the data you feed them. If a product is miscategorized as a “sample” when it is sold, the system will choose CN22. That’s why accurate product metadata and integration between listing platform and shipping tool is crucial.
If your systems aren’t integrated, build a manual checkpoint. A human verifies the form before the label prints. It sounds low-tech, but for many small operators, that checkpoint prevents the worst kinds of errors.
## Pricing Decisions And Customer Communication
Shipping costs, duties, and customs forms should be part of pricing strategy. Decide whether you will deliver duty-paid or duty-unpaid. Communicate that clearly at checkout. Surprises at delivery are the fastest way to lose customers. If you list items as “inclusive” but you underdeclare, you’ve made a business decision that could backfire.
Also, train customer support to handle customs queries. A scripted but honest answer saves trust. If a parcel is delayed due to customs, explain what information you need and how long the clearance usually takes. Don’t promise overnight fixes if the delay is on the customs side.
## Case Studies In Small-Scale Compliance
An artisan who pre-packaged and shipped jewelry stopped labeling packages as “jewelry” and started listing metals and weight precisely. Inspections stopped. Another seller of electronics moved to CN23 with full compliance documents and reduced returns from blocked shipments. Small changes, big impact.
It’s not about spending a fortune. It’s about being intentional and accurate. That beats guessing and hoping customs will be lenient.
## The Role Of Accurate Invoicing
Invoices are the single most important attachment to a CN23. The invoice should match the declared goods exactly, including value, currency, and HS codes if possible. Discrepancies between the invoice and the form are red flags. Keep copies on file. If customs queries an item, you’ll want proof of the sale price and terms.
Also, if you send free samples, still include a pro forma invoice that states value and reason for export. That clarity reduces the chance of a misclassification or a fee.
## Making The Decision: CN22 Or CN23
There’s no magic rule beyond the carrier and market thresholds and the nature of the shipment. Use CN22 for small, low-value, non-commercial shipments within the allowed limits. Use CN23 for everything else. If you can attach supporting documents and the carrier accepts them, CN23 is often the safer bet for commercial shipments.
Remember that the conversation is shifting. What used to be a CN22 parcel may now require CN23-level detail in many countries. Keep your processes flexible and your product data tidy. Small changes now will save headaches later.
Recieve a hold notice? Respond fast. Keep records. And when in doubt, check with your carrier or a broker — cheap advice beats an expensive customs problem. Adress the paperwork early and avoid the scramble at the end.
#### Quick Checklist For Each Outbound Parcel
– Correct form chosen (CN22 or CN23)
– Accurate, specific description
– Item value and currency consistent with invoice
– HS codes included when possible
– Recipient contact info complete
– Attach invoices or pro forma documents for CN23
#### When You’ll Definitely Need A CN23
– Commercial sale above the local de minimis threshold
– Items requiring permits or compliance documents
– High-value shipments or bulk orders
– Shipments going through express couriers that demand detailed declarations
Seperate your packing and documentation steps. That small discipline prevents a lot of errors that look trivial until they aren’t.