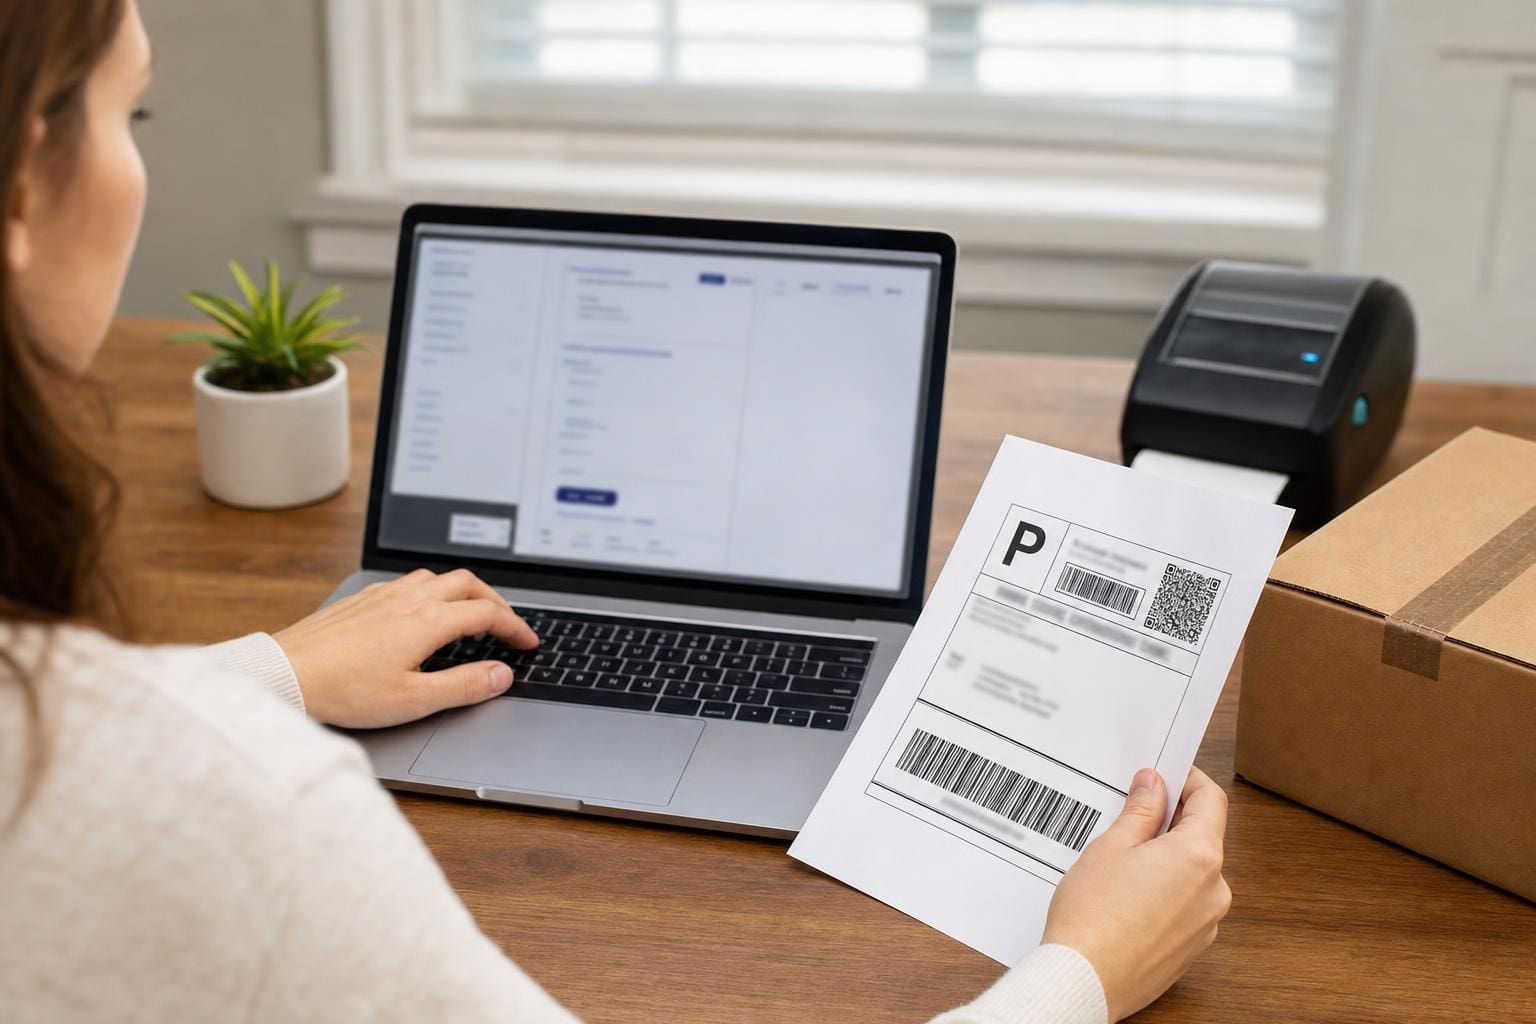
You can skip the post office counter. Print postage at home with USPS Click-N-Ship, stick the label on, and move on with your day. It’s not magic; it’s a few clear steps, a scale, and a printer that cooperates. If you sell things, mail gifts, or just hate waiting, this is how to make the whole thing quick and reliable.
## Print Postage At Home With USPS Click-N-Ship: How It Actually Works
Using Click-N-Ship is less about tech wizardry and more about attention to small details. At its core you create an online shipment, buy postage, and produce a printed label you attach to your packege. The label contains tracking and postage paid, so the carrier accepts it like any retail label. You’ll want to know what options to pick and how to avoid common hiccups that ruin a fast day.
### Set Up Your Account And Preferences
Create a USPS account if you don’t already have one. Use the same adress you’ll frequently ship from. Enter your default return address and contact info now so you don’t have to retype it every time. Upload a couple of address book entries for recurring recipients.
Pick a payment method you’ll use most: credit card is the simplest for occasional shippers. If you’re doing higher volumes, consider linking a USPS business account later. Save your printer preferences under settings. If you plan to print 4×6 labels, set that as default so PDFs come out right.
### Weigh And Measure Correctly
This step makes or breaks your price. Use a kitchen or postal scale and round weights up to the nearest ounce for small parcels. For larger boxes, measure length, width, and height and calculate dimensional weight if using certain services. If you under-weigh a package, you’ll get a postage due notice or a returned label. Weigh before you tape everything shut if possible.
### Choose The Right Service And Extras
Click-N-Ship lets you pick services like Priority Mail, Priority Mail Express, First-Class Package, and more. Choose tracking and insurance if the item is valuable. Domestic delivery options vary by speed and cost—Priority Mail gives a good balance of speed and included tracking.
Insurance: If your item is worth more than the included coverage, buy extra. Click-N-Ship shows the cost. Don’t assume the stated delivery date is guaranteed unless you pay for Express.
### Create The Shipment Step By Step
– Enter From and To addresses. Use complete addresses and include apartment or suite numbers. Typos in zip codes create delays.
– Select package type or enter your own box dimensions.
– Put the weight in ounces or pounds. Click-N-Ship recalculates price instantly.
– Choose your service (Priority, First-Class Package, etc.), shipping date, and any extras like insurance.
– Review the total and buy the label.
When you buy, you’ll get a PDF or a view for direct printing. Save the reciept PDF for your records. If you need to return an item, Click-N-Ship can also generate return labels.
### Printing: Paper, Labels, And Printer Settings
You can print on plain paper and tape the label on, but 4×6 self-adhesive labels are faster and neater. Thermal label printers work great—no ink, no smudges. If you use a laser or inkjet, print at high quality and set scaling to 100% or “actual size.” Disable headers/footers in the print dialog so no extra text appears on the label.
If the barcode gets resized or clipped because of scaling, the carrier may have trouble scanning it. Use full-bleed settings if your printer supports it. For plain paper, put the label on tightly with clear packing tape covering the entire label—don’t tape over the barcode with wrinkled tape.
### Affixing The Label Correctly
Place the label on the largest flat surface of the box. Avoid seams, corners, or areas with heavy tape underneath. Smooth the label down so the barcode is flat. If you applied tape, make sure it’s clear and not wrinkled. Wrinkling can break a barcode’s readability.
### Scheduling Pickup And Drop-Off Options
Click-N-Ship often lets you schedule a free carrier pickup for Priority Mail. You can also drop the item off at a blue collection box, post office, or authorized shipping center. If pickup is important, schedule it the same day you print the label. If you miss pickup, take the package to the post office before close.
### International Shipments And Customs Forms
For international shipments, Click-N-Ship will ask for a detailed customs description, item value, and HS code if required. Be explicit: list item names, quantity, and value. Attach the customs forms the way Click-N-Ship prints them, usually integrated with the shipping label. Mistakes here cause delays or customs fines.
### Common Errors And Quick Fixes
– Label Won’t Print: Check your browser’s pop-up and PDF settings. Use Chrome or Firefox for best compat. Ensure PDF reader is up to date.
– Barcode Not Scanning: Reprint on better paper or use a thermal label. Verify scaling is at 100%.
– Wrong Address: You can sometimes void a label within Click-N-Ship and reprint, but do it quickly. After the carrier scans a label, it’s harder to cancel.
– Postage Due: Usually weight or size was underreported. Keep the original package open until you’re certain the purchase matched reality.
## Print Postage: Choosing Labels, Printers, And Supplies
You can print postage at home with usps click-n-ship on plain paper, but labels make life easier. 4×6 adhesive labels are inexpensive, fit the barcode and postage cleanly, and cut down on tape. Thermal printers are most reliable for volume work. They eliminate smears, save ink, and output consistently sized labels.
### Printer Types And What To Use Them For
– Thermal Printers: Best for high-volume. No ink. Labels come out dry and crisp. Slightly more initial cost.
– Laser Printers: Good for occasional shipping. Fast and reliable but use toner, which is fine for labels.
– Inkjet Printers: OK, but moisture and smudging can be a problem unless you use waterproof labels.
Set margins to zero or none. Choose portrait mode for most label templates. If you see an extra white border or the label is shrunk, adjust scaling.
### Supplies That Make Shipping Easier
Keep a lightweight scale, label rolls, a tape gun, and a marker on hand. Stock various box sizes to avoid awkward packaging that costs more. For fragile items use bubble wrap and a firm box to reduce damage and claims.
### Label Storage And Reprinting
Save the PDF of every label until delivery is confirmed. Click-N-Ship keeps a history too. If a label is lost or smeared, you can often reprint or void and buy a new one. Keep a neat folder of mailed items for returns and disputes.
### Refunds And Voiding Labels
If you buy postage and don’t use it, Click-N-Ship can void the label and refund the postage, but rules vary by service and time. Do it quickly. The system won’t refund after a label has been scanned moving through the network. Keep track of timestamps.
### Business Features And Discounts
If you ship regularly, use business tools that integrate with USPS for discounts and batch printing. Some e-commerce platforms connect directly to Click-N-Ship or through third-party software, letting you print many labels at once and apply negotiated rates. For low-volume sellers, Click-N-Ship’s retail rates can still be competitive if you use the right package type.
### Tracking, Notifications, And Proof Of Delivery
When you print postage at home with USPS Click-N-Ship, you get a tracking number. Add that to your order or message the recipient. Click-N-Ship can email shipment details to both you and the buyer. For legal or business disputes, proof of postage plus tracking scanned delivery often resolves issues quickly.
### Save Time With Templates
If you ship the same items, create templates in Click-N-Ship with package weight, service, and insurance settings. That cuts time to seconds. Update templates if you change packaging or insurance levels.
#### Handling Returns
Make a return label in advance or include a pre-printed return label in shipments. Click-N-Ship supports return label creation. Label a return clearly so customers just slap it on and drop it off.
#### Security And Fraud Safeguards
Keep your account information secure. Use strong passwords and update payment methods if a card is compromised. If you notice unfamiliar labels in your account, report them to USPS. Unauthorized printing of postage is illegal and creates headaches.
### When Click-N-Ship Isn’t The Best Tool
For extremely high volumes or advanced shipping rules, dedicated postage software and postage meters may be better. If you need batch shipping with complex carrier rules, look at third-party shippers. Click-N-Ship is ideal for small to medium volume and fast single-label needs.
### Real-World Troubleshooting Stories
I once shipped an oddly shaped vase with a large gap of padding. I weighed, entered dimensions, and printed a label. When it showed up damaged, the claim flagged that the box was inadequate. Lesson: the label is only part of it. Packaging quality matters for claims.
Another time, a reprint came out half-size because my browser asked to “fit to page.” The post office couldn’t scan the barcode. Reprinted at 100% and problem solved. Small settings matter.
### Advanced Tips From People Who Ship A Lot
– Keep an extra roll of 4×6 labels in the mail drawer. You’ll never run out at the wrong moment.
– Use plain labels for returns and have a separate folder of return tracking numbers.
– If you regularly ship heavy goods, get a postal scale certified for large weights so you don’t underpay.
– Print two copies of the shipping reciept: one to keep and one to attach inside the box for customs if international.
### What To Expect The First Time You Print Postage At Home With USPS Click-N-Ship
Expect a mix of easy and fiddly. Entering addresses is easy. Printer settings can be fiddly. The first label might take a few extra minutes. After a few shipments, the whole process is 3–5 minutes per package if you have a rough system. Keep notes on the little things that tripped you up so you don’t repeat mistakes.
### Accessibility And Mobile Considerations
You can access Click-N-Ship on a phone or tablet, but printing usually requires a computer connected to a printer or a cloud print setup. Some people email the PDF to themselves and print at a local store if they’re away from home.
### Avoiding Overcharges And Hidden Fees
Double-check dimensions and declared value before you pay. Services show the final cost before you confirm. If the package gets reclassified later due to incorrect dimensions, you may owe additional postage. Keep track of how your carrier counts size and weight.
### Label Quality And Mailstream Compatibility
Not all barcodes are created equal. If your barcode is faint or printed on reflective tape, scanners struggle. Use matte labels and avoid metalized paper. If your label looks faint, reprint.
### Quick Checklist Before You Seal The Box
– Address fields complete and correct
– Weight verified and rounded up
– Service and extras chosen
– Labels printed at 100% scaling
– Barcode clear, not taped over wrinkled
– Customs forms attached for international
## USPS Click-N-Ship Tips From Regular Shippers
Experienced users treat Click-N-Ship like a tool that needs maintenance. Update saved addresses, clear templates when services change, and rotate supplies. A little housekeeping saves time later.
– Keep a printer test page in the mail area to verify alignment quickly.
– If you ship fragile items often, keep standard box sizes for consistent dimensional weight billing.
– Check Post Office hours online so you don’t arrive after the counter closes but the blue box still collects.
A final note: nothing replaces paying attention. The system is straightforward, but the details—weight, size, barcode clarity, and correct address—decide whether the package sails through the network or gets rerouted back to you. If you want to print postage at home with usps click-n-ship reliably, build a small routine and stick to it. It saves time, money, and a few gray hairs.