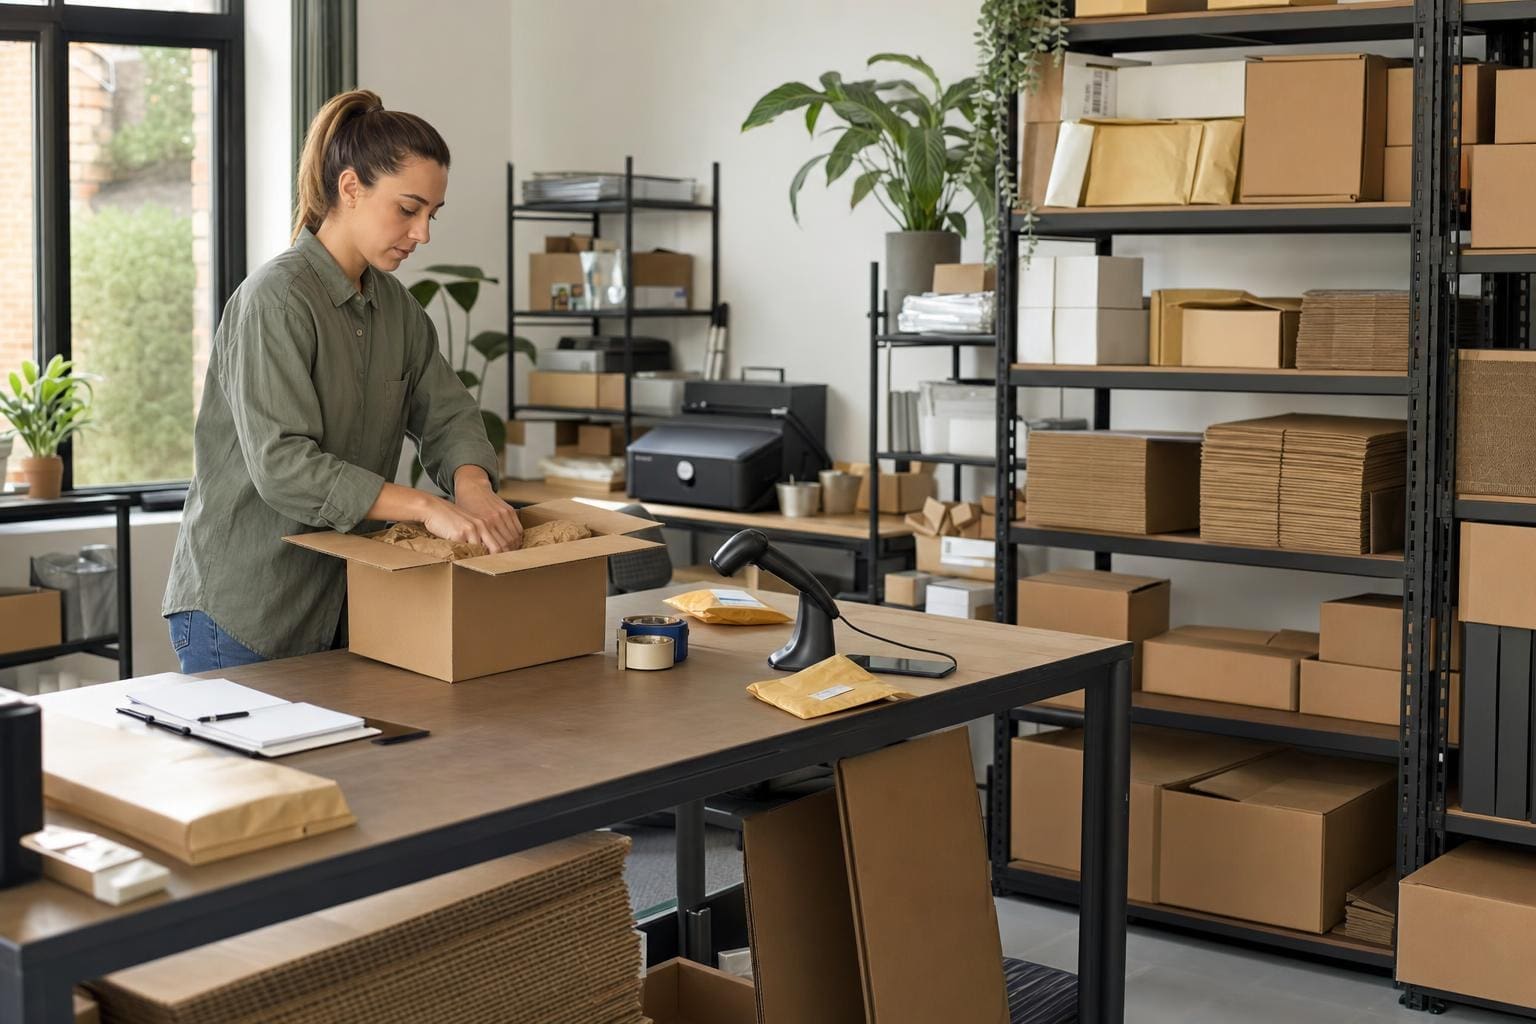
## Packing Station Layout Optimization For Small Business That Actually Delivers
You don’t need a huge warehouse to get packing right. Small businesses lose time and money when packing stations are chaotic — wasted steps, wrong items, and damaged goods add up. Packing station layout optimization for small business is about reducing those mistakes and cutting seconds off every order, not buying the fanciest gear.
### Start With A Real Measurement, Not A Guess
Look at your busiest hour, not your average. Measure how long each step takes: picking the item, scanning, boxing, adding inserts, sealing, and labeling. Time two dozen orders and calculate the average cycle time. If a single order takes five minutes on average and you need to ship 60 orders in a day, you already know you need five packing positions or faster throughput at one station.
Record travel distance too. A typical mistake is placing packing materials 12–15 feet away from the station. That sounds small until someone runs that distance a dozen times a day. Track the number of trips per order to the supply racks. Cutting three trips per order at two minutes each saves hours by the end of the week.
### Map The Workflow Before You Move Anything
Draw a simple floor sketch and map the flow of people and goods. Keep it visual. Label these zones:
– Receiving and staging
– Short-term storage for fast-moving items
– Packing stations
– Quality check
– Shipping/dispatch
When you can see crossings and choke points, decisions get easier. Avoid forcing employees to cross paths where one is carrying a packed box and another is picking fragile items. Even in a 200-square-foot space this becomes obvious on a drawing.
### Zoning And Station Types For Small Spaces
Different businesses have different needs. A jewelry maker and a meal-kit company both pack, but their stations should look nothing alike.
#### Packing For High SKU Variety (Boutiques, Makers)
– Use narrow vertical shelving close to the station for high-density storage. Open-faced bins let you see styles quickly.
– Create a split station: one side for fragile handling, the other for bulk items. That prevents cross-contamination of packing materials.
– Keep a small “sample” of every SKU at the station if you can. It saves walking time, especially with high-value items.
#### Packing For Volume (Subscription Boxes, E-commerce Sellers)
– Consider U-shaped stations that let two people work back-to-back without crossing. One person checks and folds; the other seals and labels.
– Place bulk filler and bags in reach on a rolling cart sized to match the box footprint.
– Use a conveyor or gravity-fed roll for repetitive tasks if space allows.
### Ergonomics: Don’t Ignore It, Even If You’re Small
Pain and fatigue slow people down. For small teams, one sick packer is a major loss. Aim for these ergonomics basics:
– Surface height around elbow level when standing. Offer anti-fatigue mats.
– Frequently used items within a 15–20 inch reach zone. Less frequent items can be slightly farther away.
– Lighting that’s bright but not glare-heavy. A focused task lamp beats overhead alone.
– Adjustable stools for people who alternate between standing and sitting.
These feel like small investments but they reduce errors and increase stamina. Your packers will thank you with fewer breaks and faster cycles.
### Use Zones And Visual Cues
Label shelves and bins clearly. Use color-coded tape, not vague signs. For example, green tape for priority overnight shipping, yellow for fragile, and red for returns. Place shadow boards for tools: scissors, tape guns, scales. When a tool is missing, it’s obvious.
A simple visual packing checklist taped to the station — one sentence per step — reduces forgotten inserts, wrong slips, and missing return labels. It’s cheap and effective.
### Pack Materials: How Much To Keep On-Hand
Stock turns matter. Too little, and you stop shipping. Too much, and your small space becomes a hoarder’s closet.
Keep a two-week supply for slow-moving SKUs and a one-week buffer for fast-sellers. For consumables (tape, labels, bubble wrap), track daily usage for a week, then set reorder points. If you ship 100 boxes a week and use five rolls of tape, reorder when you’re down to two rolls. That prevents emergency trips.
Use pallet shelving, but think vertical. A small warehouse-grade rack can double your capacity by going up, not out. Store clear, labeled bins on those shelves for seasonal or overflow materials.
### Packing Station Setup: Tools That Matter Most
You don’t need automation to be efficient. Invest in a few key tools:
– Reliable scale with tare memory. Accuracy prevents postage surprises.
– Fast, ergonomic tape dispenser. One-handed operation saves seconds.
– Thermal label printer. Inkjet labels smudge and waste time.
– Mobile label holder or stand so labels are ready at eye level.
A packing station setup that balances speed and accuracy beats one overloaded with gadgets nobody uses. Pick tools that match your volume and the type of products you ship.
### Layout Patterns That Work In Tight Spaces
You can choose from a few common layouts depending on space and volume:
#### Linear (Single File)
Best for one packer handling varied orders. Items move along a line from staging to shipping. It’s simple and fits along walls.
#### U-Shape
Good for two people sharing tasks. The shared center holds supplies and frequently used items. This reduces travel time and keeps both workers engaged.
#### Island
Place a packing island in the center when access from multiple sides is needed. This suits businesses that pack different types of orders simultaneously. It requires space, but in a mid-size backroom it can be very efficient.
Pick the pattern that matches how your team actually works, not how you wish they would.
### Minimize Touches: The Principle That Pays Off
Every time an item is touched, there’s a chance for error. Aim to reduce the number of touches per order.
Example: A customer orders two items. If the workflow is pick → stage → pick → pack → check → label → ship, that’s six touches. Instead, combine steps: pick both items together into an order tray, take a photo for quality, pack, then label. Fewer touches, fewer mistakes.
Implement order batching for similar SKUs. Packers handle 10 orders of the same type at once, reducing setup time and mistakes.
### Quality Check Without Slowing Down
Quality control is non-negotiable. But it shouldn’t be a bottleneck.
Use a lightweight QC checklist that’s done as part of packing rather than a separate step. For fragile items: “Check padding, item condition, invoice included.” For apparel: “Size, color, tag.” The packer ticks off the box before sealing. If your volume allows, have a second person do random sampling at 5–10% of orders.
If you use scanning, require a final scan that verifies the SKU, quantity, and shipping label match. That single scan cuts wrong-ships dramatically.
### Data-Driven Adjustments: Small Changes, Big Wins
Collect a little data. Track packing time per order, error rate per 100 orders, and returns due to damage. Don’t overbuild a spreadsheet — a simple chart on a whiteboard works.
When you spot a recurring issue, fix the root cause. If fragile items are being crushed, the material or box size is wrong. If wrong items ship, your picking layout might be confusing. Make one change, measure for two weeks, then iterate.
### Packaging Right: Size, Protection, And Branding
Shipping cost and damage prevention come from matching box size to product. Too big, and you pay more and use more fill. Too small, and the product gets damaged.
Keep a small set of box sizes that cover most orders. For instance, 6x6x4, 10x8x4, and 14x10x6 will cover a surprising number of items. Use fill that cushions without shifting — industry staples like paper-based fill are sustainable and effective.
Branding matters, but don’t let it override function. A single sticker and a well-folded invoice can feel premium without wasting space.
### Scalable Packing Station Setup For Growth
Plan for slow expansion. Build modular stations that can be replicated. If you start with one U-shaped station, design the second the same way so training and flow stay consistent.
Document the setup: where tape goes, bin labels, lighting, and tool placement. When you hire someone new, a picture of the station is more useful than a long verbal run-through.
#### Training Snapshot
– Day 1: Walk the flow and demonstrate each step.
– Day 2: Shadow packing with a timer.
– Day 3: Pack solo with a checklist and spot-checks.
This quick protocol gets new hires productive fast.
### Software Choices That Save Time
You don’t need enterprise software to be efficient. Pick simple tools that integrate with your shipping carriers and inventory. Look for:
– One-click shipping label printing from orders.
– Batch label printing.
– Real-time inventory deduction on shipping.
A basic shipping+inventory tool can shave 30–60 seconds per order by eliminating manual entries. That adds up fast.
### Real Examples From The Field
A maker of ceramic mugs moved packing materials from a back closet to a narrow shelf beside the packing table. That cut average packing time from 7 minutes to 4.5 minutes per order. They reduced errors by keeping matching sticker sets in the same drawer.
A boutique clothing shop switched from oversized boxes to three well-chosen sizes and added tissue wrap at the station. Shipping costs fell by 12%, and customer complaints about wrinkling dropped.
A meal-kit startup redesigned their station into a U-shape for two packers. They went from two packers handling 80 kits per hour to the same two packers doing 120 kits per hour with the same tools.
### Troubleshooting Common Problems
If throughput stalls, don’t assume people are slow. Check these things first:
– Are supplies running out mid-shift? Reorder points wrong?
– Do employees walk extra distance because of poor layout?
– Is labeling equipment unreliable or slow?
If error rates spike, examine the packing station layout and the checklist. Errors usually come from visible clutter or ambiguous storage.
### Small Changes You Can Try This Week
– Move your top three used materials to within arm’s reach.
– Add a contrast-colored tape for prioritized orders.
– Time five orders and compare against your baseline.
– Swap one oversized box for a smaller size in your next shipment.
These small moves are cheap and will show you where bigger changes pay off.
#### Quick Packing Station Setup Checklist
– Work surface at elbow height.
– Frequently used items within 20 inches.
– Clear labels and color coding.
– One reliable scale and a thermal label printer.
– A visible QC checklist for each order type.
– Reorder points for consumables.
Keep it lean. Small businesses win by being nimble, not by copying giant warehouses.
### When To Consider Automation
Automation isn’t just for large warehouses. But in small firms it should only be considered when manual work becomes a predictable bottleneck. If you can’t scale from 100 to 300 orders per day with a second station and more staff, look into conveyors, automated labelers, or simple sortation. Always pilot in a corner first.
Finally, remember that packing station layout optimization for small business is an ongoing process. Fix what’s broken, measure, then refine. Little wins compound. The goal is steady, practical improvement — not a perfect layout on day one.